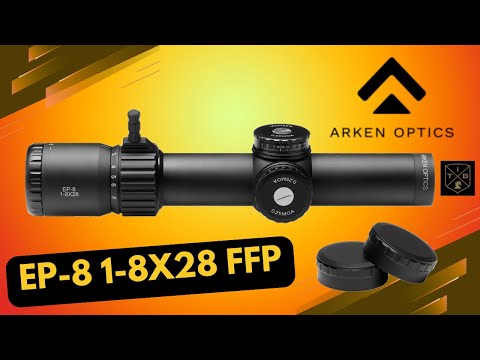
Unlock the full potential of your rifle with the Arken Optics EP-8 1-8×28 LPVO — in this video we dive into specifications, real-world performance, setup tips, and best-use scenarios for this illuminated first-focal-plane LPVO.
Arken Video Build List – Code Tiberious – https://bit.ly/4jBioet or https://a.co/d/6qZS7kA
CR-2032 batteries at Amazon – https://a.co/d/4K9XZ5g
🔍 What You’ll Learn in This Video
-Detailed specs & features — magnification range, objective size, tube diameter, FOV, turret adjustment, reticle type, and more.
-Illuminated KLBOX reticle overview — how the reticle scales in first focal plane mode, how illumination works, and when to use it.
-Mounting & zeroing tips — how to mount it for consistent tracking, best practices for zeroing, and matching it to your ammo.
-Performance in the field — how it handles transitions from 1× close-quarters to 8× for longer-range shots, clarity, edge-to-edge sharpness, and eye relief behavior.
-Strengths & limitations — what this LPVO does very well, and cases where it might not be ideal (or where trade-offs exist).
-Best applications — ideal use cases (tactical, competition, general service rifles) and suggestions for pairing with mounts, rifles, or ammunition.
⚙️ Key Specs Snapshot
-Magnification: 1× to 8×
-Objective: 28 mm
-Tube size: 34 mm
-Eye relief: ~ 3.74 in
-Field of View: ~ 121 ft @1×, ~ 14.6 ft @8×
-Turret adjustment: ¼ MOA per click
-Elevation / windage range: ±110 MOA
-Weight: ~ 21 oz
-Reticle: First Focal Plane (FFP) with illuminated KLBOX
-Battery: CR2032 (not included)
📌 Why This Optic Stands Out
The EP-8 bridges the gap between red-dot / reflex optics and high-magnification scopes. At 1× it functions well for close-quarters work, while quickly transitioning to 8× gives you reach when needed — making it a flexible all-in-one optic for many rifle builds. The illuminated KLBOX reticle offers a clean, useful aiming solution with good versatility under different lighting conditions.
🚀 Tips for Best Use
-Use a solid, repeatable mount and torque properly to preserve zero.
-When zeroing, verify at multiple ranges (e.g. 100 yd, 300 yd) to confirm reticle scaling.
-Adjust illumination level to match ambient light — avoid overdriving bright when unnecessary.
-Use the throw lever (if installed) to quickly shift magnification under stress.
-Pay attention to eye relief movement at different magnifications, to keep consistent cheek weld and sight picture.
✅ Don’t Forget
If you find this video helpful, like, comment, and subscribe — it helps more shooters find this content. Drop your questions or feedback in the comments, especially if you want a follow-up video on ballistic testing, reticle subtension, or mount comparatives.
Tri-Star Trading – Tiberious Swag – https://bit.ly/3Jes6qt
Tiberious Tribe on Patreon https://www.patreon.com/tiberious
Tiberious Amazon Store https://www.amazon.com/shop/tiberiousgib
FOLLOW ME:
Patreon: https://www.patreon.com/tiberious
Instagram: https://www.instagram.com/tiberious_gib/?hl=en
Facebook: https://www.facebook.com/BangFirearmsGroup
Website: http://tiberiousgib.com


